
Snapshots Quilt-Along Mini Quilt-the applique
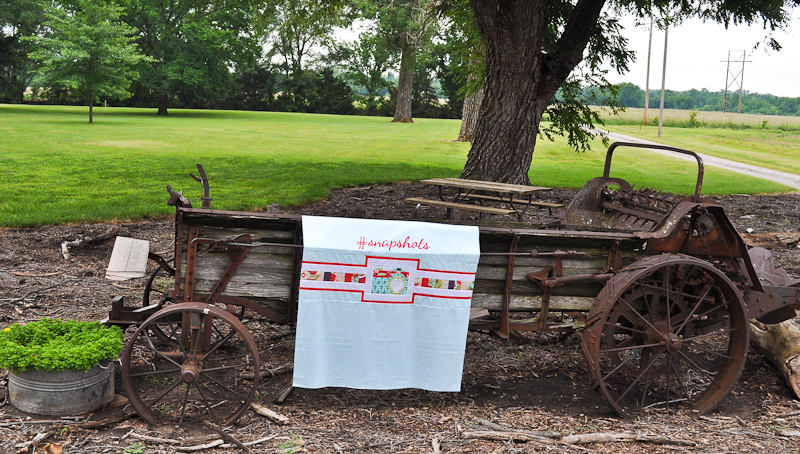
Woo hoo! Fat Quarter Shop has released Block 8 of the Snapshots Quilt-Along which means I’d better get busy making a mini bicycle, huh?!! I think it’s going to be my favorite block of the entire quilt. Or maybe the camera on the back. Still undecided. Still loving this snapshots quilt-along mini quilt and the full size version. Thank you Fat Quarter Shop!
I figure since there’s a good chance that those following the quilt-along will have their machines out and humming away this weekend, this would be a good time to provide the instructions and download for the #snapshots applique I added to my quilt back shown here.
First, you’ll need the following:
- 5″ x 18″ piece of fabric
- 5″ x 18″ piece of fusible adhesive (or slightly smaller is better)
- pencil or marking tool (I like to use an ultra-fine Sharpie pen)
- iron
- ruler measuring more than 16″ long
- #snapshots applique pattern printed out and assembled
Click on the applique link above to open a new window. Save that file to your computer then open the saved file and print it. If your printer settings are wanting to scale to fit, change it to None. Even if you forget and it comes out a little too big or a little too small, you know what? No one will ever notice unless you tell them (wink)!
Once printed, you’ll see some cutting marks at the corner of your printed sheets, as shown below.
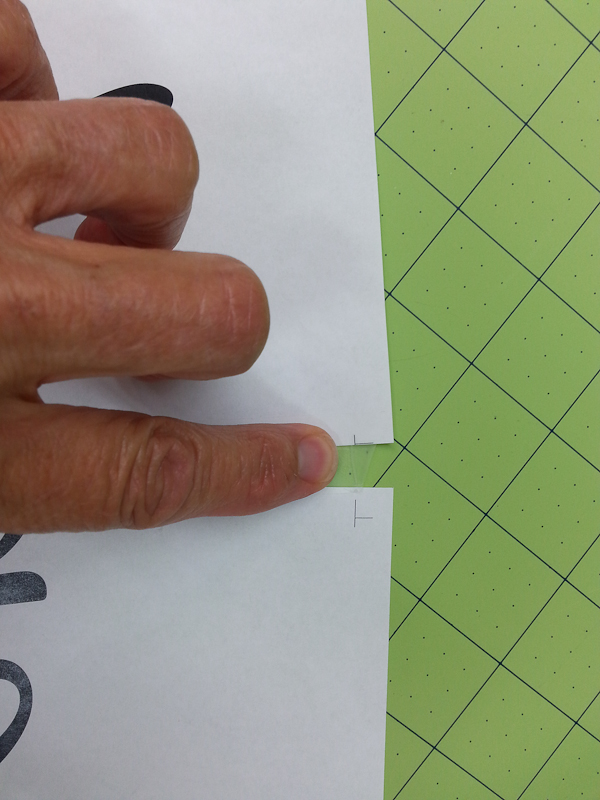
Trim the edge off each page in line with those marks. In the picture above, I’ve already trimmed the sheet above my very wrinkled, unmanicured finger (ugh!), then butt the two sheets together and tape them. I tape on the back, so when I’m tracing later I’m not running over the tape with my Sharpie. Next, place your fusible adhesive atop the pattern, following manufacturer’s instructions, and trace the pattern.

Now press this to the wrong side of your fabric. As you can see, I wasn’t using a 5″ x 18″ piece of fabric. Instead I had an entire fat quarter laid out there!

Once adhered to the fabric, cut out the applique on the the drawn lines, remove the paper backing, then set it aside for a moment to prepare your backing fabric. When I made mine, I had not sewn the top and bottom fabrics (Fabric T) to the center camera block unit. If you already have, it’s okay and I’ll offer an adjustment in my instructions below, but either way, your quilt back as a whole or the quilt back top piece of fabric (Fabric T – top) needs to be folded in half to create a crease that runs from top to bottom. This will be your reference point to center the applique piece which, as a whole, is 16″ long (and 4″ tall).

As shown above, place a ruler on your background fabric with the 8″ mark aligning with the crease you just made (note: I remembered not to use my wrinkled finger to point in these pictures). You will be locating the bottom edge of your applique 2½” above the unsewn bottom edge of Fabric T. If you’ve already assembled your backing, you will be locating 2¼” above the seam. When I refer to the bottom edge of the applique I’m referring to everything except the hash mark and letter P. Those two characters are extending past the bottom of the applique.
When you lay out your applique, the left edge of the hash tag will align with the 16″ mark on your ruler and it will extend down to the ¾” mark on the ruler as shown below. The letter P will also extend down ¾” while all the other letters will run in a straight line atop the ruler.
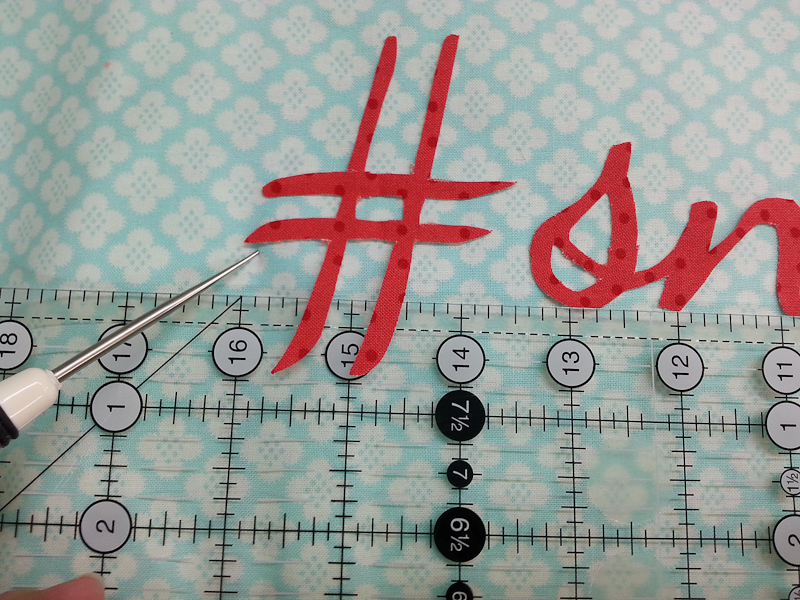
The final letter will align with the very end (zero mark) of the ruler.
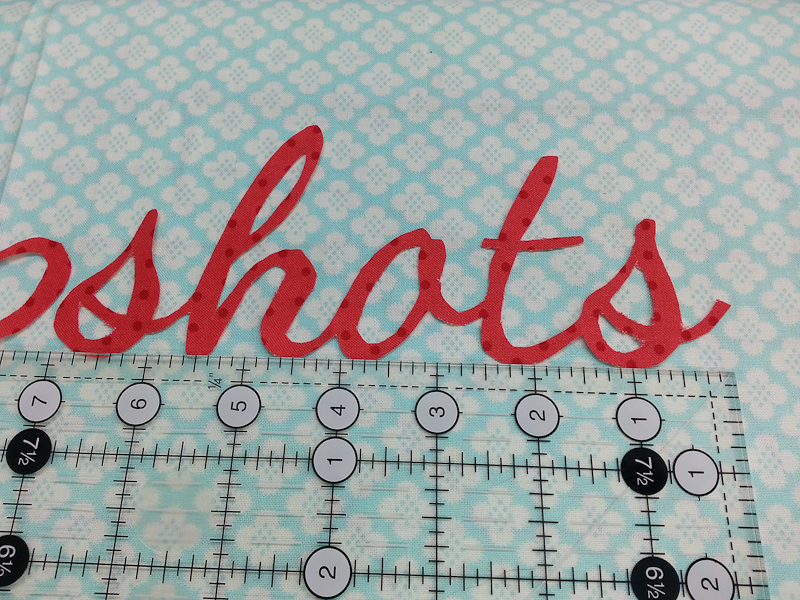
When I was assembling mine, I had it laid out on a pressing board, so you might do the same, or use your ironing board. This way I didn’t have to pin anything or move it. I just ironed it in place.

Then came the stitching!!
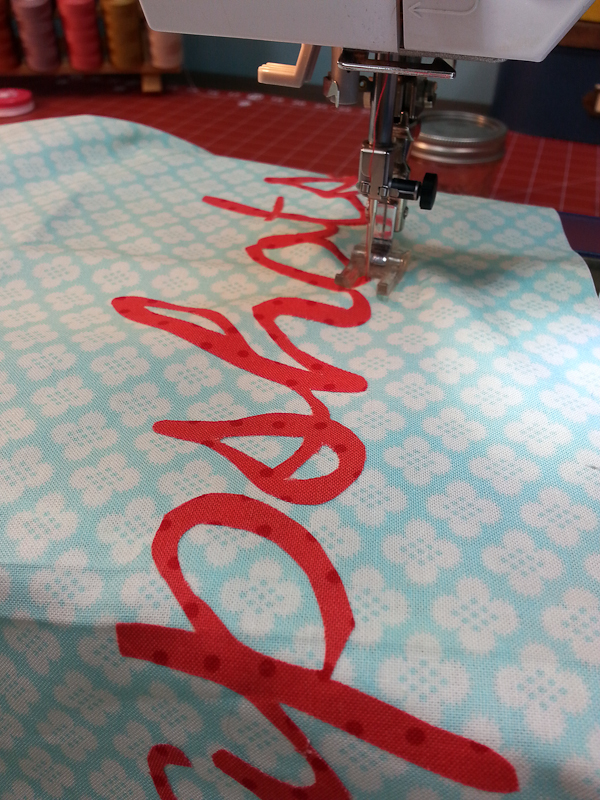
I used a very simple (and small!) zig zag. This step took about as long as everything else combined. These were the settings on my Bernina.

After completion, finish assembling per instructions. Now – off to make a mini bicycle block! Back soon!

Is the #snapshots applique pattern still available? I clicked on the link and it is no longer there.
Kind regards,
Rebekah
Hi Rebekah – I’m really not sure what happened to the link! I think it’s working again, so give it another shot. Thanks for letting me know!
Thank you!! It is there now 🙂