
Pineapple Day Quilt WIP
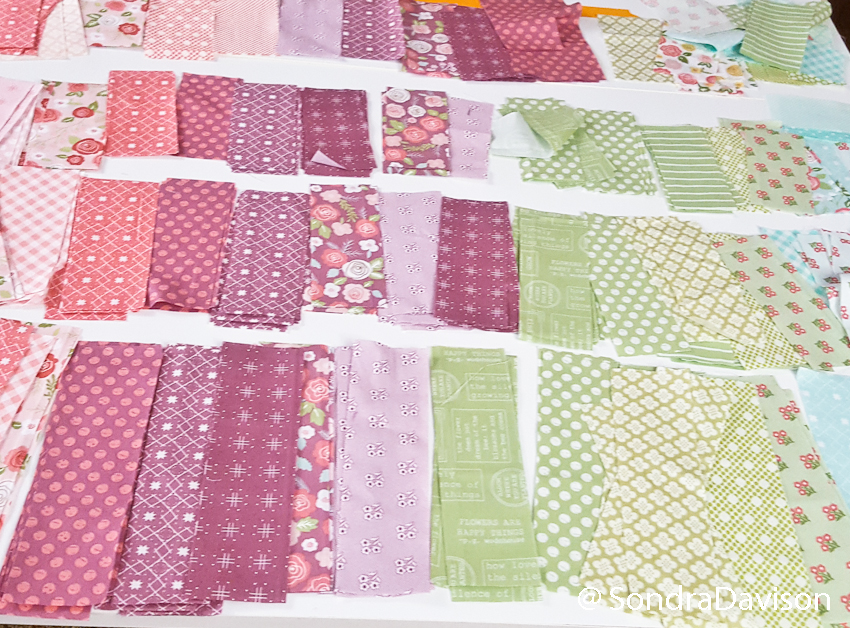
Prep work to make my blocks
Earlier this week, I posted my “nearly finished” Pineapple Day quilt, the inspiration of which began with a free, downloadable quilt pattern from the Fat Quarter Shop. What started with the free pattern has become something totally new and still a work in progress.
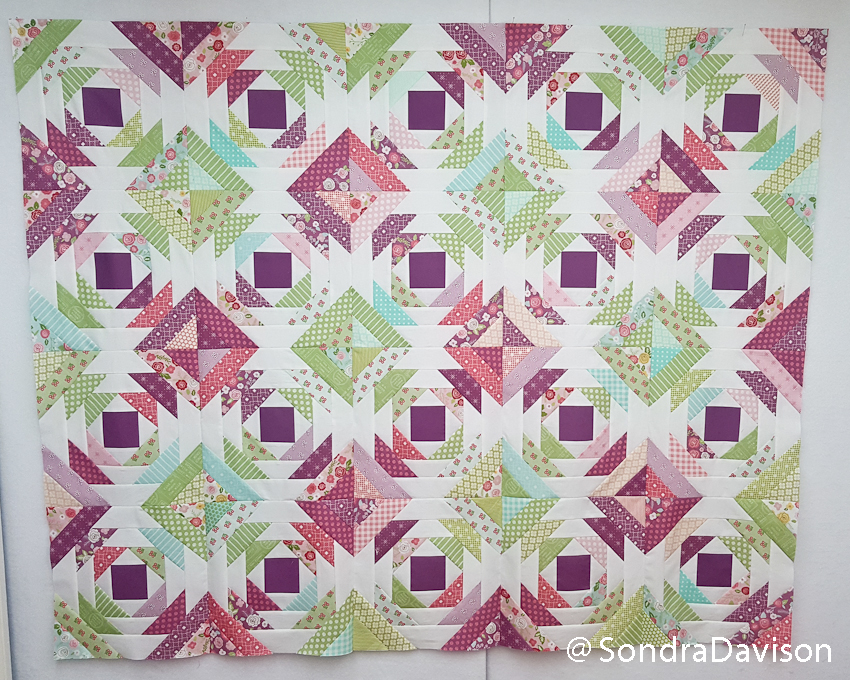
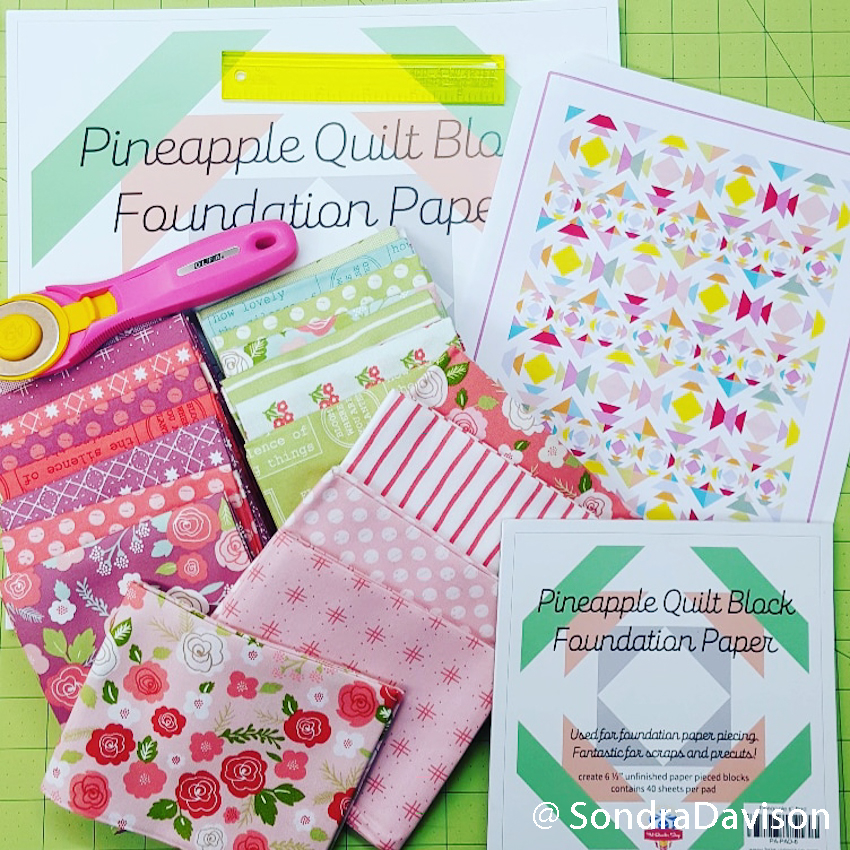
The Pineapple Day quilt is paper pieced, using Pineapple Quilt Block Foundation Papers from the Fat Quarter Shop. I started with the 12″ finished block papers, then made revisions. Today I’m going to share with you the supplies I used to make my quilt, and the changes I made to the foundation paper to achieve the look above. I will be writing additional blog posts about how I cut my strips, made my blocks and finish with a post about the borders I’m adding to this quilt.
The supply list
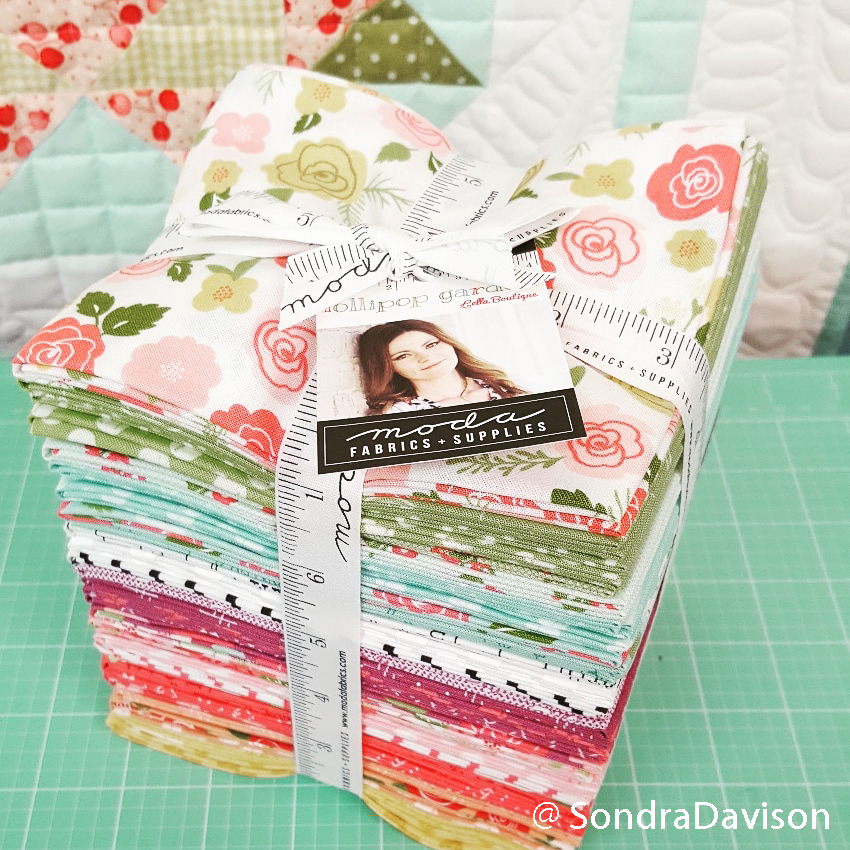
Although the pattern calls for jelly rolls and charm squares, I started with a Lollipop Garden fat quarter bundle by Lella Boutique for Moda Fabrics.
Here is a list of tools I found beneficial making my quilt. I want to mention that I purchased my stripology ruler about a year ago, hung it up and promptly forgot it. OMGosh!! I remembered it when I started this quilt, took the plastic off it (yes, it was still wrapped) and it is ah-MAZ-ing!
- Lollipop Garden FQ Bundle by Lella Boutique for Moda Fabrics
- 12″ Pineapple Quilt Block Foundation Paper
- Add-A-Quarter-Plus Ruler (I already had the 6″ ruler, but would recommend the 12″ ruler if you’re buying a new one)
- Artograph LightTracer Light Box
- 4″ Omnigrid Square Ruler
- Stripology Ruler by Creative Grids
- Frixion Ball Erasable Gel Pen
- Olfa Rotary Cutter
- Fiskars Self Healing Mat
- Flying Geese Triangle on a Roll Paper
Preparing the foundation papers
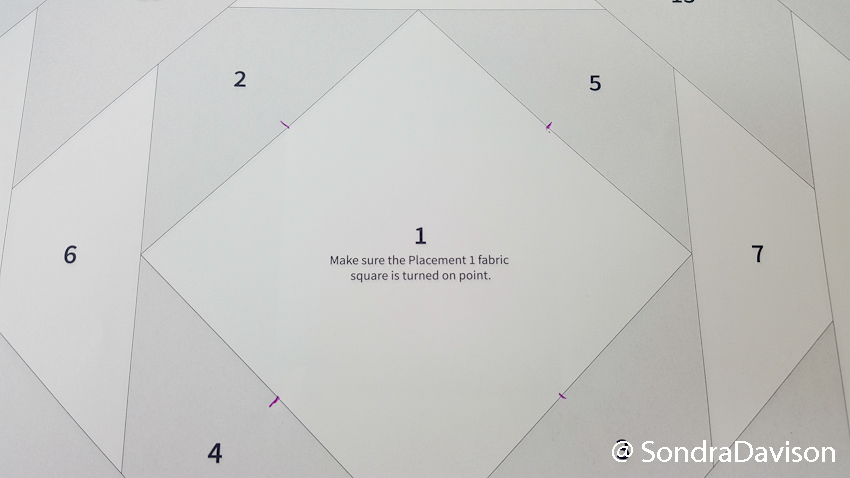
The first thing I did was mark up my foundation papers. I wanted to add a square to the center of my blocks (rather than the center being on point like a diamond). I used a standard ball point pen for marking my paper.
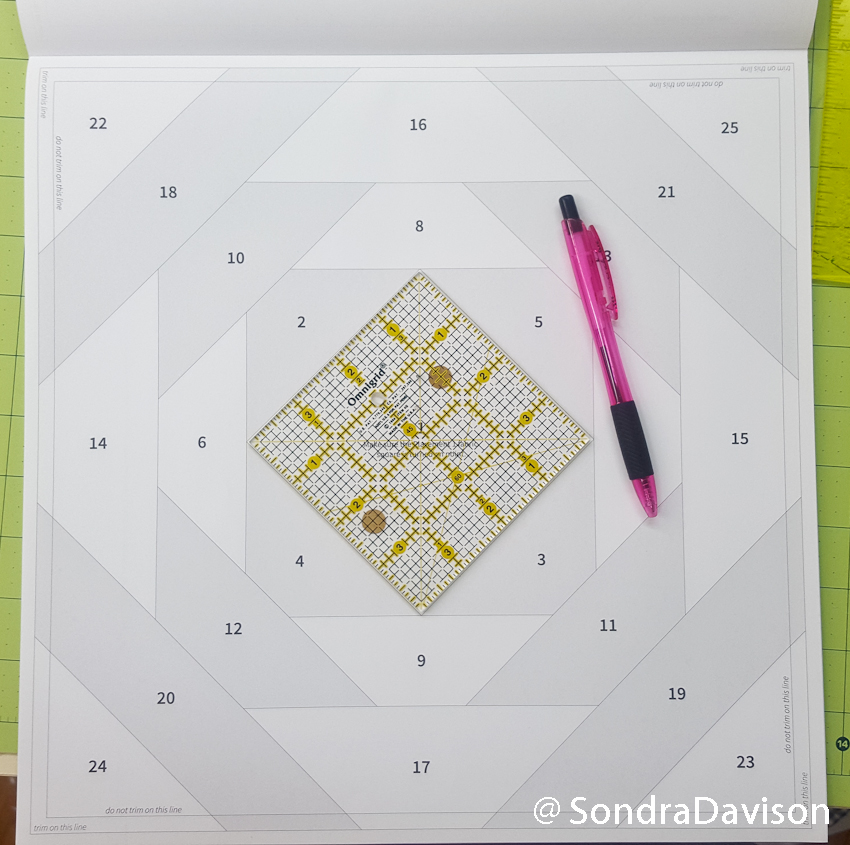
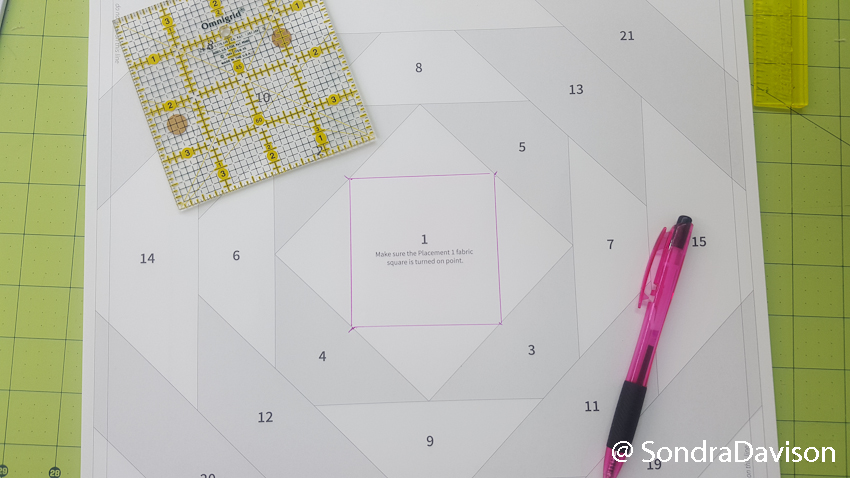
My 4-inch Omnigrid Square Ruler worked perfect for this! I centered it on the paper and marked a spot at each corner of the ruler.
Connect the dots with a pen.
This next step is optional, but I found it really helped me. I extended the lines on the paper. It took more time in the beginning, but it saved time afterwards. I’m one of those people that when I paint a room I have to “blue tape” everything prior to painting. It drives my husband crazy, but I’m a bit OCD in that way. I consider all this “pre-work” to be my “blue tape” in quilting.
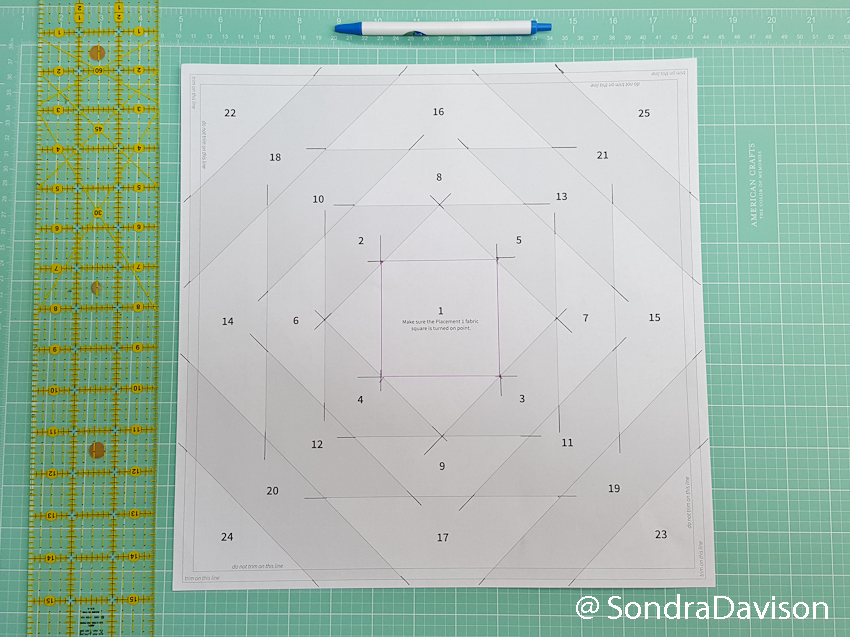
This extra step made it easier to see where the stitching lines are since the fabric hides them when you’re working from the reverse side. Some quilters fold the paper and use the crease lines as a reference point, but I have trouble seeing the creases when I put the paper on my light table.
Putting fabric to paper
Below is the first paper I did. You can see the extended lines (most of them). It was my “trial” version, and I extended the lines a bit further on the remaining papers, since a few of these were a too short to been once the fabric was in place. These lines assure than my fabric is placed to give adequate seam allowance.
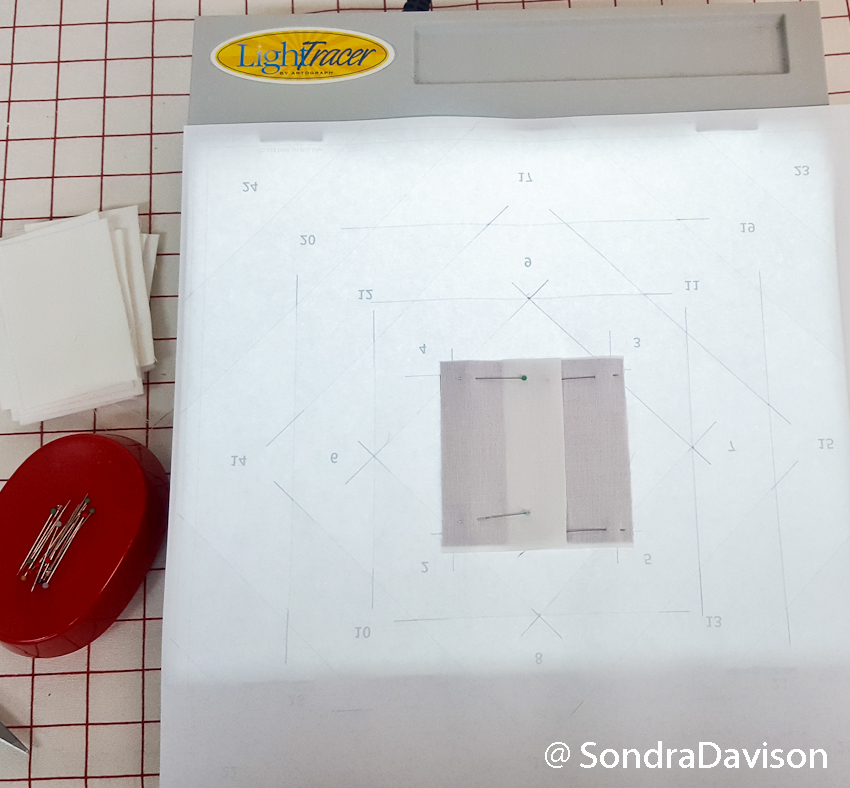
I pin at the very corners (otherwise my fabric was sometimes catching and folding over at the edge, requiring Rip and Repeat). I also pin from the inside of the block to the outer edge. I sew over my pins, and I broke three machine needles before I realized my pin heads were too close to the needle and this placement of the pins eliminated the problem.
When you’re foundation piecing, your fabric is placed on the “back side” of the paper and you sew on the front (where the printed lines are). The Fat Quarter Shop has a great video showing how to do this. They only use one pin, but for me personally, I prefer a pin at each end.
On my next post, I’m sharing cutting ALL these strips and getting ready to make my blocks, so come back and visit!
Hi Sondra,
I’m checking your site out and signed up. I miss seeing you and all the other quilters. I just love how you put your quilts together. I’m counting on you for inspiration. ?
Missing you and the group, too!! So glad you signed up – I’d better get to inspiring!!!