Snapshots Quilt-Along Mini Quilt Block 4
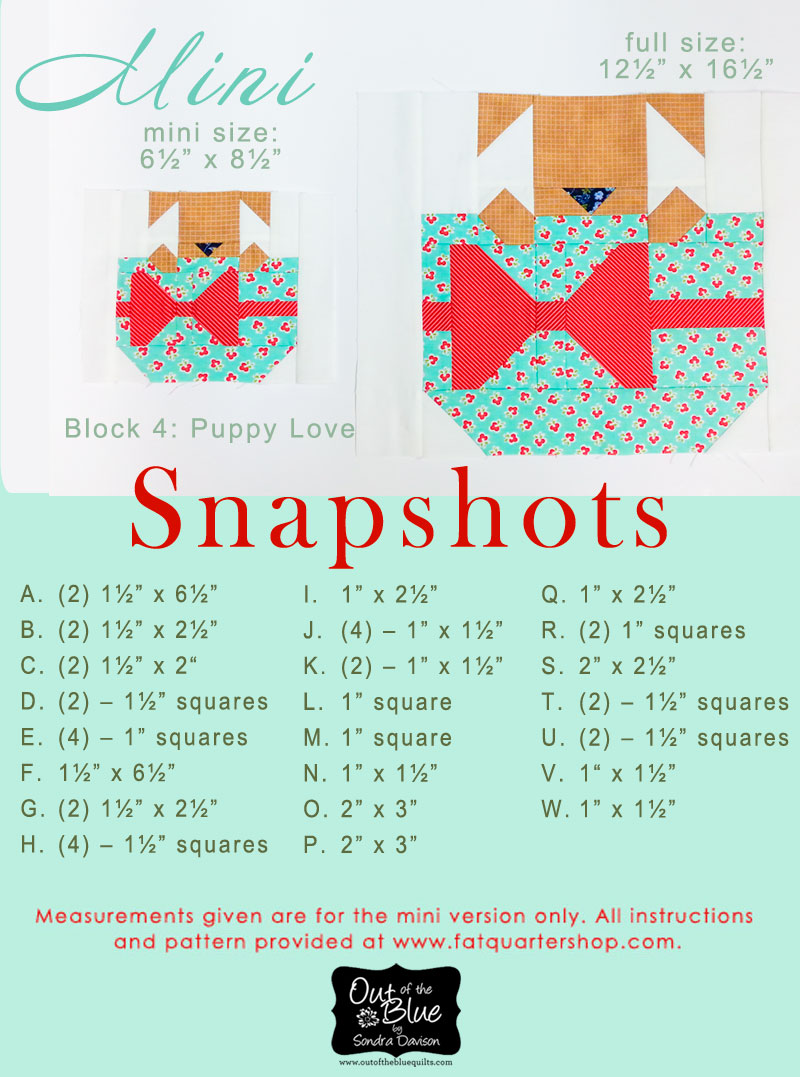
Getting a little bit quicker at getting this post out to y’all! Check out this newest, adorable Snapshots Quilt-Along Mini Quilt Block 4, Puppy Love. Sewing the blocks isn’t what slows me down. The Fat Quarter Shop’s instructions make that a breeze. Revising the measurements and then running everything through Photoshop and Illustrator to get to this point slows me down. So, without further ado, here are the mini measurements for Block 4, Puppy Love. I love it!! I know, I know. Every month I proclaim this newest block as my favorite, but I can’t help it. I wanted to sew the eyes on this puppy today, but I know I’ll regret that decision when I start quilting.
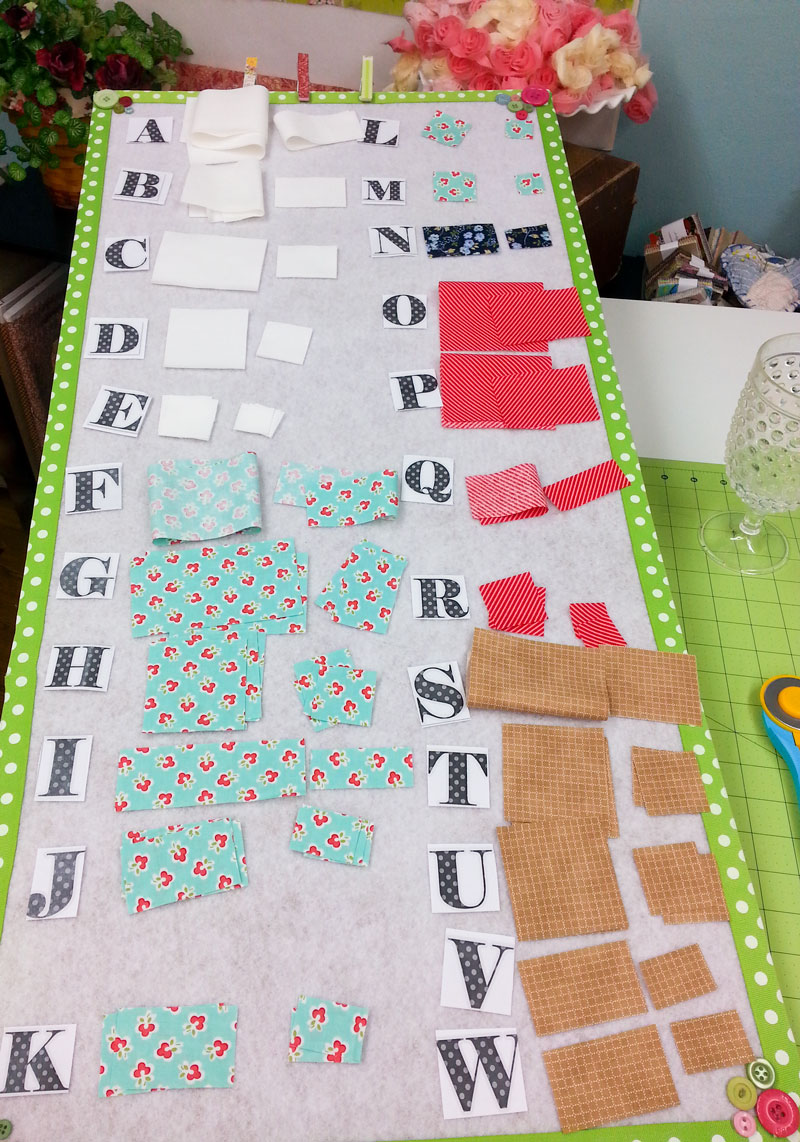
Last month I had a few people ask about my design boards and the sizes. Personally, I love them in every size. I made this supersized one last week, especially for the Snapshots QAL, to better organize my pieces for assembly. For each letter, I place the full size version on the left, and the mini version to the right of it. I sew both blocks simultaneously, rather than one block at a time to completion.
Once I’ve cut everything out, I tend to number the steps on the pattern and transfer the pieces to smaller design boards that are easier to use next to my sewing machine. I also put a corresponding number on the design board to match what I wrote on the pattern, as I like to “prep” a lot of the steps in advance before going to my machine.
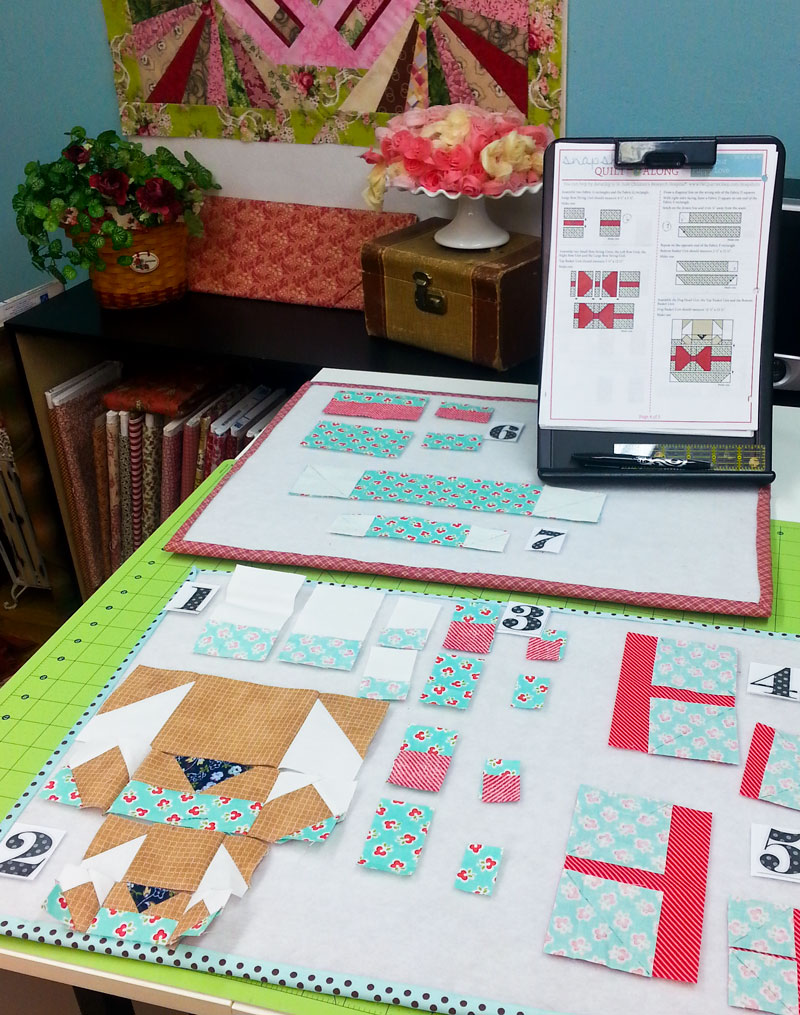
I’m a bit embarrassed by my paper version of the Alphabitties above, but once again I’ve got several WIPs (works in progress) and the Alphabitties are stacked on a different project. Mental note: order more Alphabitties. Below are some samples of my design boards. I’m here to tell you, these are not fancy, not my original idea and I cheated completely from the original tutorial. Most of mine are constructed from cardboard, iron on fusible batting, ribbon on a roll (the bindings) and 1/4″ steam-a-seam to apply the ribbon. I learned on the first attempt, I am not good with glue, I get it everywhere, and afterwards nothing seems to stay stuck the way it should. Grrrr!
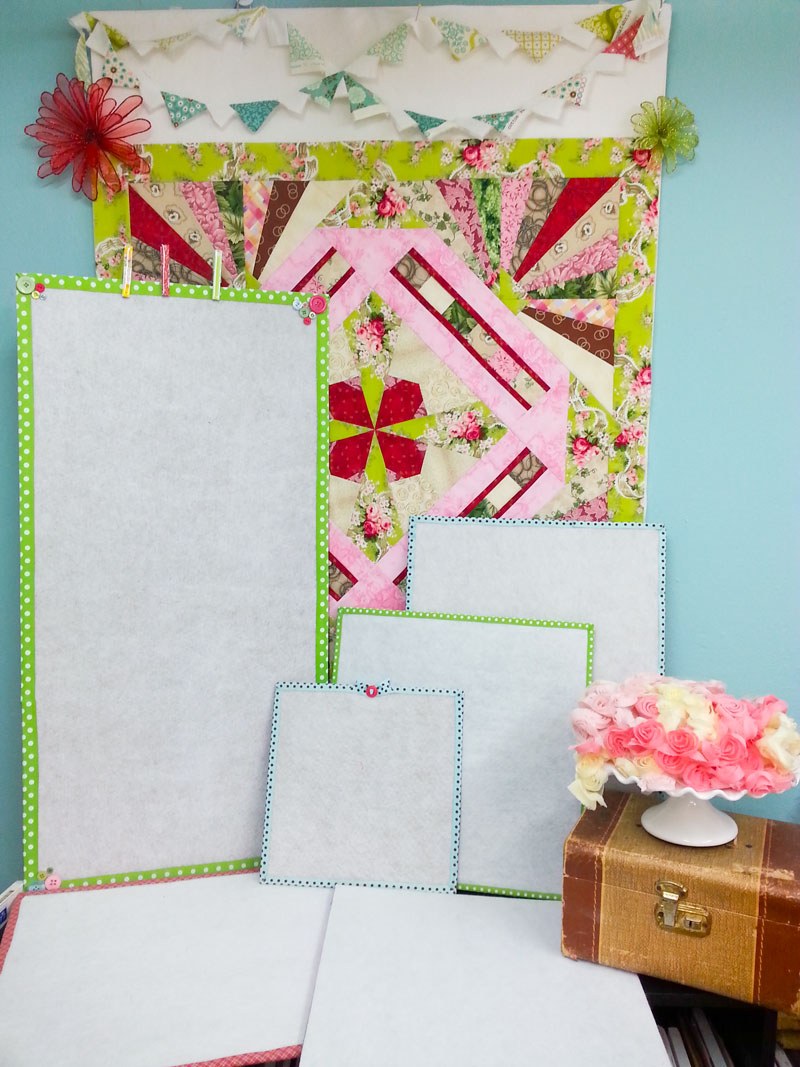
My big board hanging on the wall is a giant piece of foam board from Hobby Lobby with batting adhered to it with adhesive spray. I then punched a couple holes at the top to insert some shower rings that could be looped over the hooks at the ceiling. My sewing room is in the basement and attaching things to the ceiling isn’t so much an issue but my walls are concrete. I have found over the years that nothing stays “stuck” to it without peeling off the paint, and my one attempt to drill a hole with a concrete bit was not even close to being acceptable. This was the result of making do.
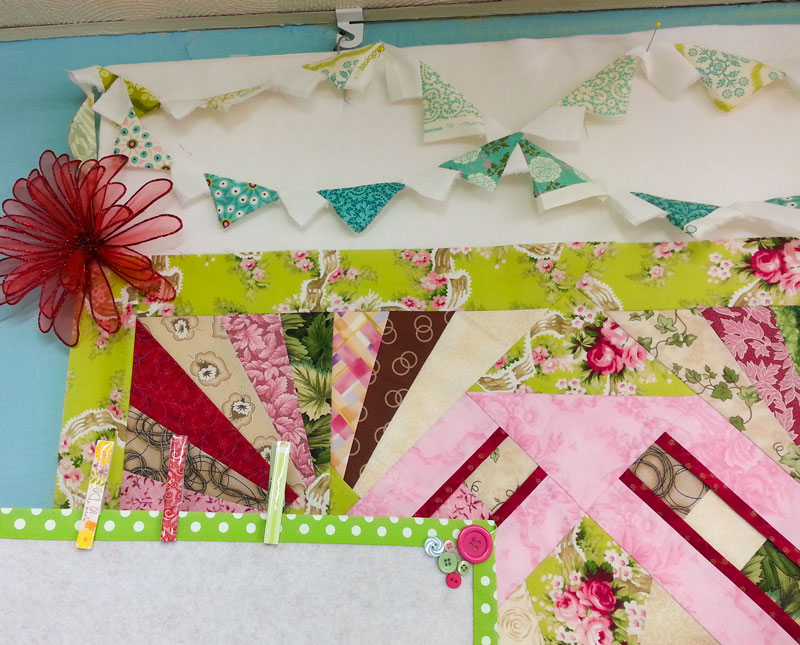
I will post a brief tutorial of the revisions I made to make my boards as well as a link to the original post written by Lori Holt, as soon as I locate the pics I took last week when making the latest one! Otherwise, I see another design board project in my future.

Thank You! Now I’m set for the weekend sew-in! Do you know when we will get the measurements for the inside (red) borders? I noticed on an earlier block that judging from the picture, it looked like there should be more background before the first bordered is added. I’m trying to use only scraps plus I’m using different backgrounds for some blocks, and I want to be sure that I save background for the blocks that might need another strip added.
Thanks so much for doing the minis they are just so much fun!
We couldn’t do it without YOU!
Happy Sewing
Agree, she is so gracious to share her talents with us 🙂 Much appreciated!!!!
Thanks Sondra for another awesome mini! This puppy dog is so adorable. Have to make my block for Snapshots. I am also doing the mini 🙂
Chris, thank you! I’m glad everyone is doing these mini blocks with me. It’s made it much more fun!