
Quilt Block Design Board Tutorial
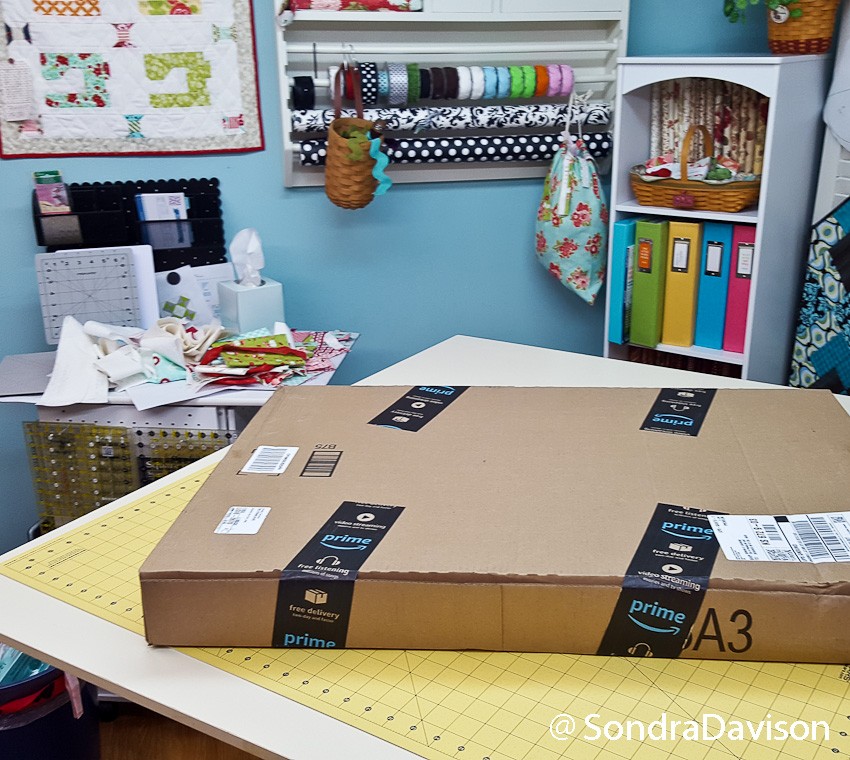
I wanted to drop in and show you a quick way to make a quilt block design board in a matter of minutes with stuff you probably already have around the house. Yesterday I posted this pic on Instagram, sharing my enthusiasm over my latest Amazon purchase as well as the cardboard box in which it arrived, because I was going to make a design board from that big box!
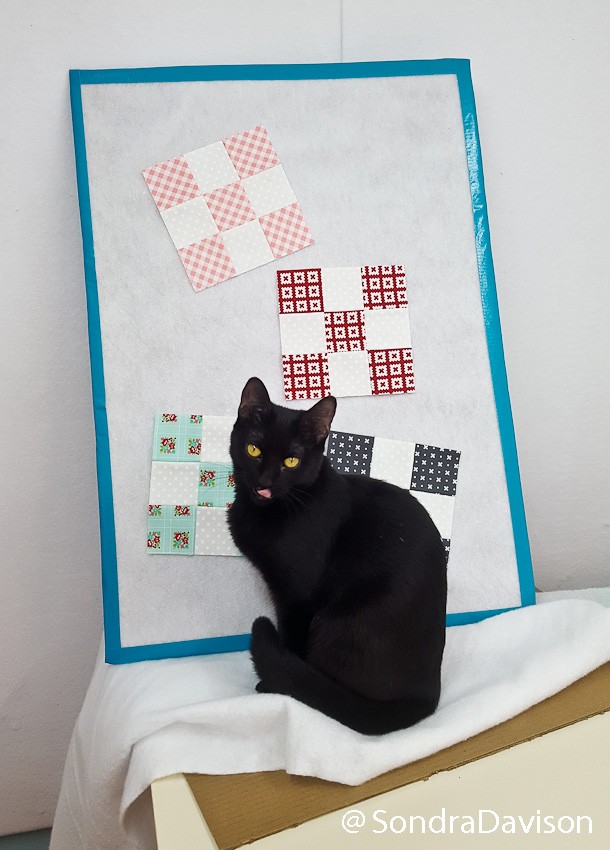
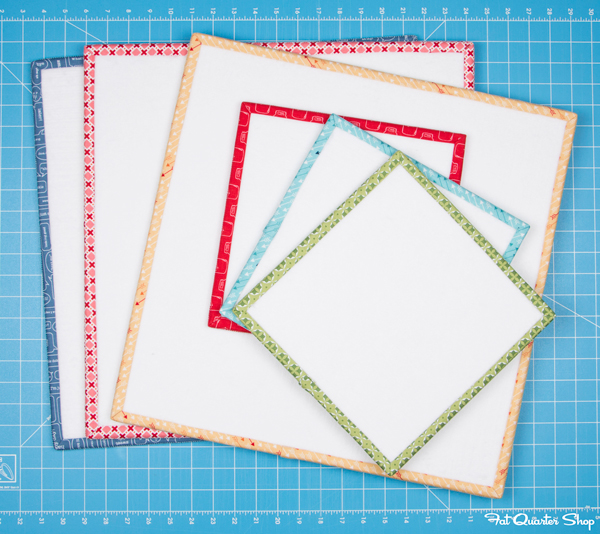
Later I showed one of the finished boards (the cat kept sleeping on the second one), and I shared this photo. Since several questioned how to make it, I thought I’d attempt a tutorial.
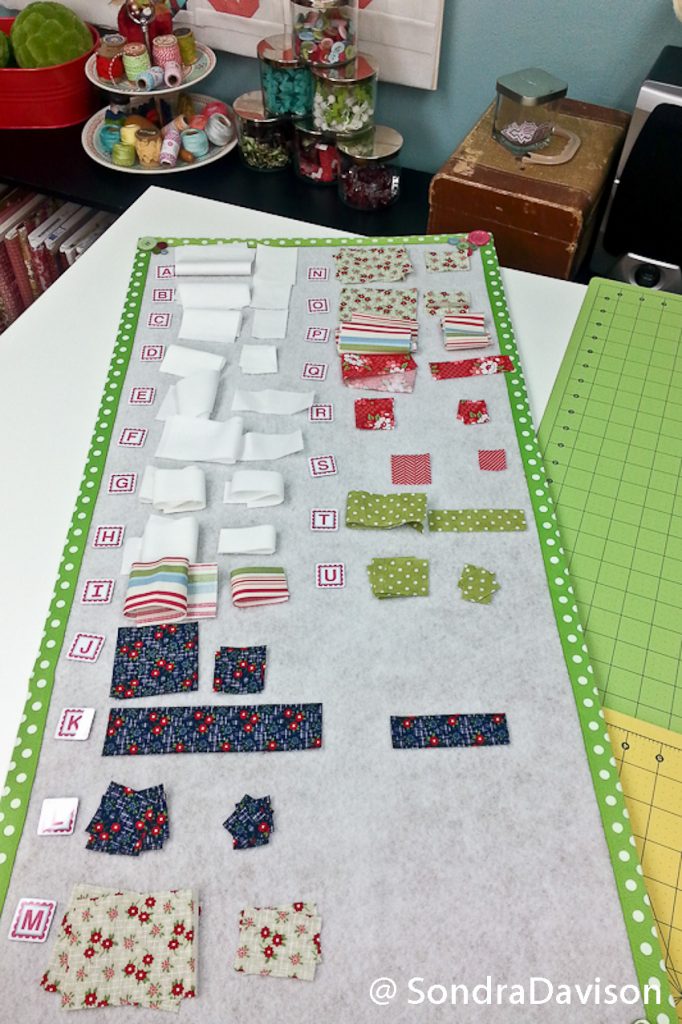
In case you’re not acquainted with design boards, they’re pretty handy. A design board allows you to assemble the pieces of your quilt blocks in a manner that keeps them orderly and easily portable from cutting table to sewing machine. I started strolling down memory lane, in the archives of my blog and realized I wrote about these way back when, nearly four years ago, when I was doing Fat Quarter Shop’s Snapshots Quilt Along.

Lol! I guess I’ve been recycling cardboard quite awhile! As you can see, I like having a variety of sizes, and despite having so many, I still end up short on boards. I like cutting out projects and arranging blocks, then setting them to the side, allowing me to work on multiple projects.
I think the original design boards came from Lori Holt of Bee in My Bonnet. Her boards and the tutorial to make them are wonderful! You’ll note, though, if you check out her tutorial, she wrote it in 2011. I’ve followed Lori for a long time! And I saved that tutorial to Pinterest for a loooooong time. Eventually, out of desperation, I decided to make mine in a lazy, no-sew manner. I started with foam board for a base, ribbon for the edges and, after trying to use glue and getting it everywhere, opted for 1/4-inch fusible adhesive tape and ironed my ribbon to the edges.
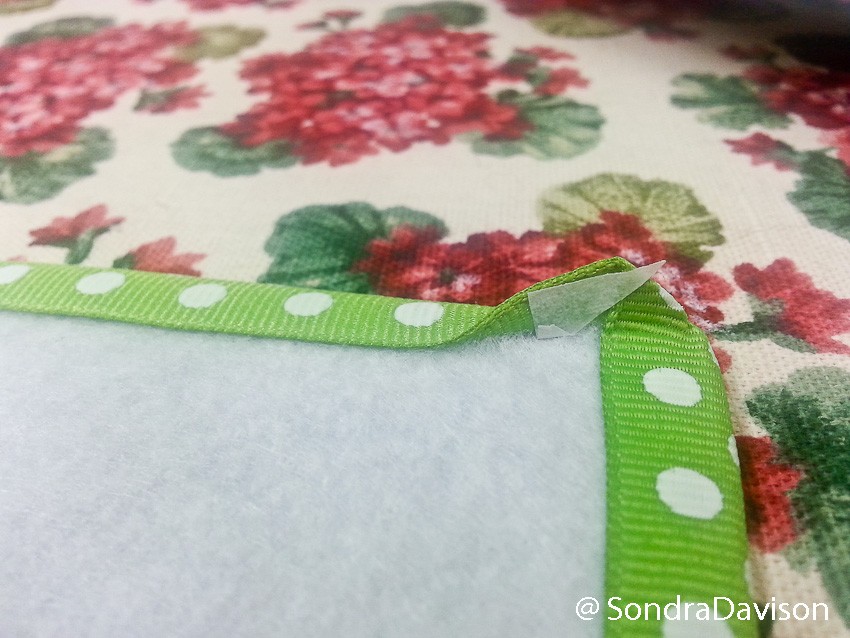
I even attempted to add extra adhesive and miter my corners.

Lovely….
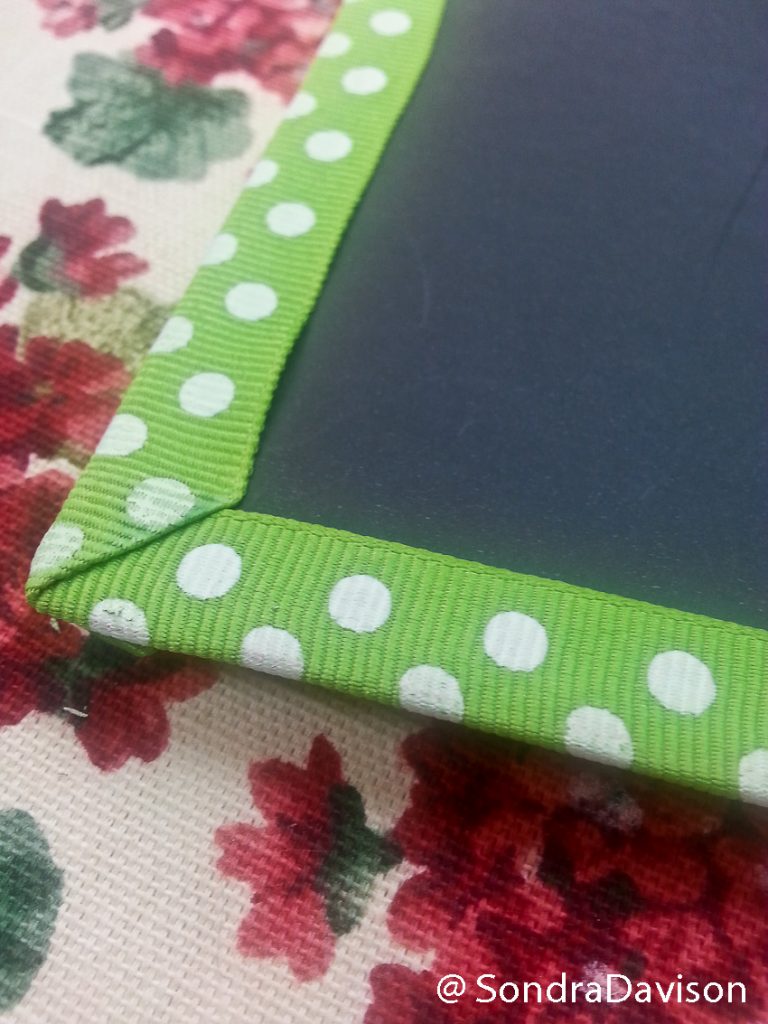
I liked the way they turned out, but it still took too much time. Today, I make them like this.
Supplies

- Cardboard
- Box knife
- Spray adhesive
- Scissors
- Duct Tape
- Batting
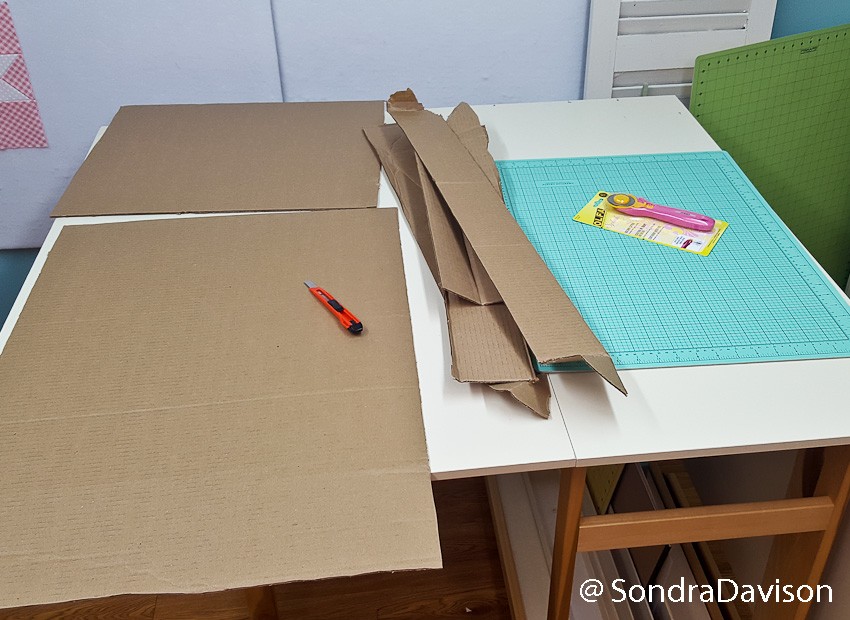
First, cut your cardboard to the desired size, and then cut your batting a fraction bigger than the cardboard.
Spray one side (front) of your cardboard with adhesive then position your batting on top, a little excess on each side. Note: I personally think batting with some polyester in it tends to hold fabric on the board better than cotton batting. This is a good time to use those odd pieces of leftover batting.

Flip the board over and trim away the excess batting. You’ll notice, I don’t worry about what the back looks like…I never look at the back, so I got over my “perfectionism” really quick!
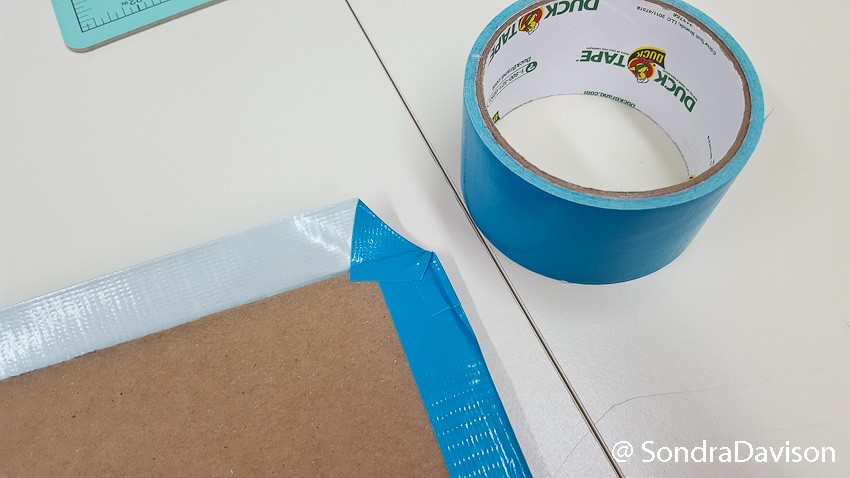
Next, put the duct tape on the edges. Again, the lazy way. I do the sides first and trim the excess. Then I do the top and bottom, attempting to miter the corner. I don’t even do that for “pretty sake.” This is to avoid exposed raw edges of tape which will pick up stray threads.
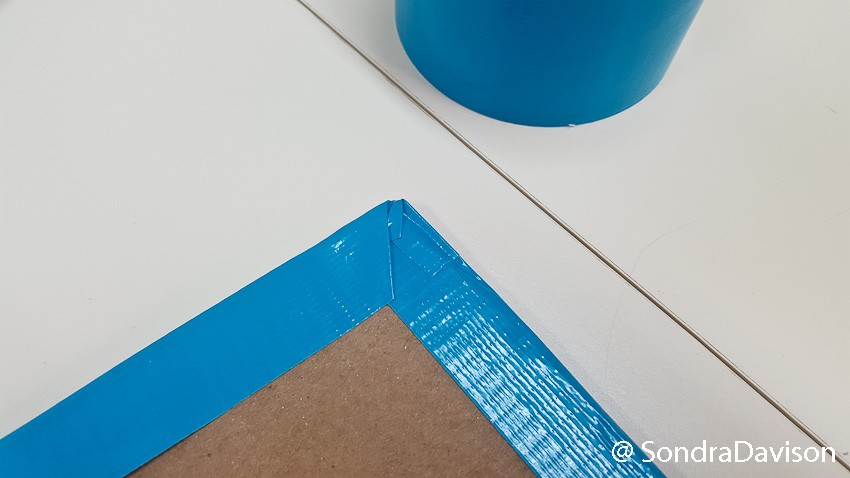
It’s not pretty, but it’s oh so functional!
And fast.
If I was trying for pretty (Lori Holt’s method), I probably still wouldn’t have any design boards. That’s not true. They are now available for purchase in lots of sizes at the Fat Quarter Shop! So much cuter than mine, lol!
And before I go….for those who asked what arrived in the box (insert happy dance here)………..ta da!!!
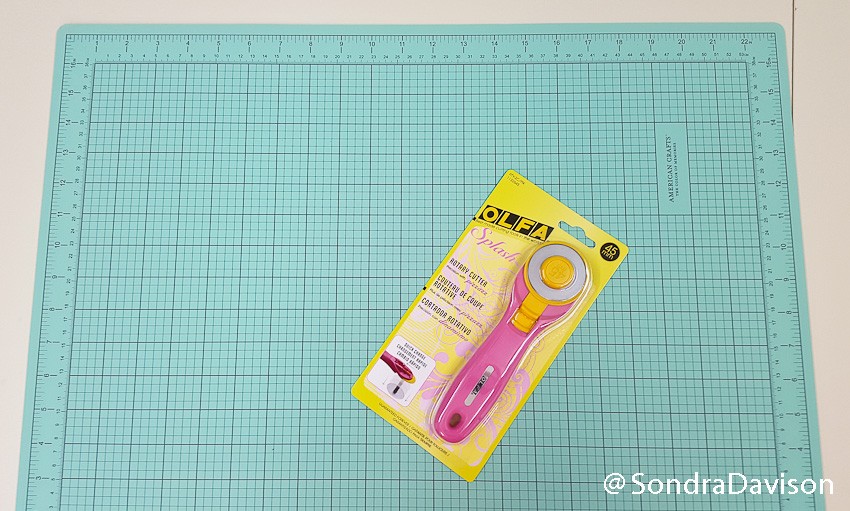
A new cutting mat and rotary cutter!! I had been checking out both for some time. I am absolutely nuts on the color of this mat. The reverse side is the same color only with white lines instead of black. One of my two rotary cutters fell apart recently. The doohickey on the back that holds the blade in place cracked. This Olfa Splash seemed irresistable in Fairy Floss Pink!
Let me know if you make a design board or post a pic on Instagram with the hashtag #lazyquiltdesignboard.
Great simple way to make the boards.I would rather spend my money on fabrics or rulers.
I’m right there with you!
I have made my self several. I love them