Crossroads Quilt Along Mini Quilt Finishing Instructions
It doesn’t seem possible we’re at this point of the Crossroads Quilt Along Mini Quilt, the Finishing Steps. I loved working on this portion of the quilt, partly because I’m a nut for HSTs (Half Square Triangles), and partly because the top is finally done! Note: this post is kind of long, so you may want to grab a latté, soda, cocktail or whatever suits you while you read.
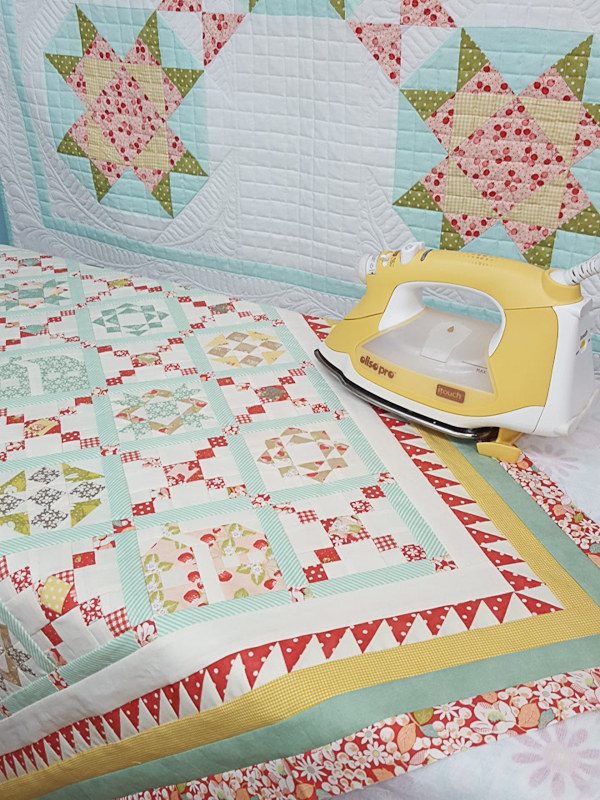
There is nothing quite like pressing the final border on a quilt…
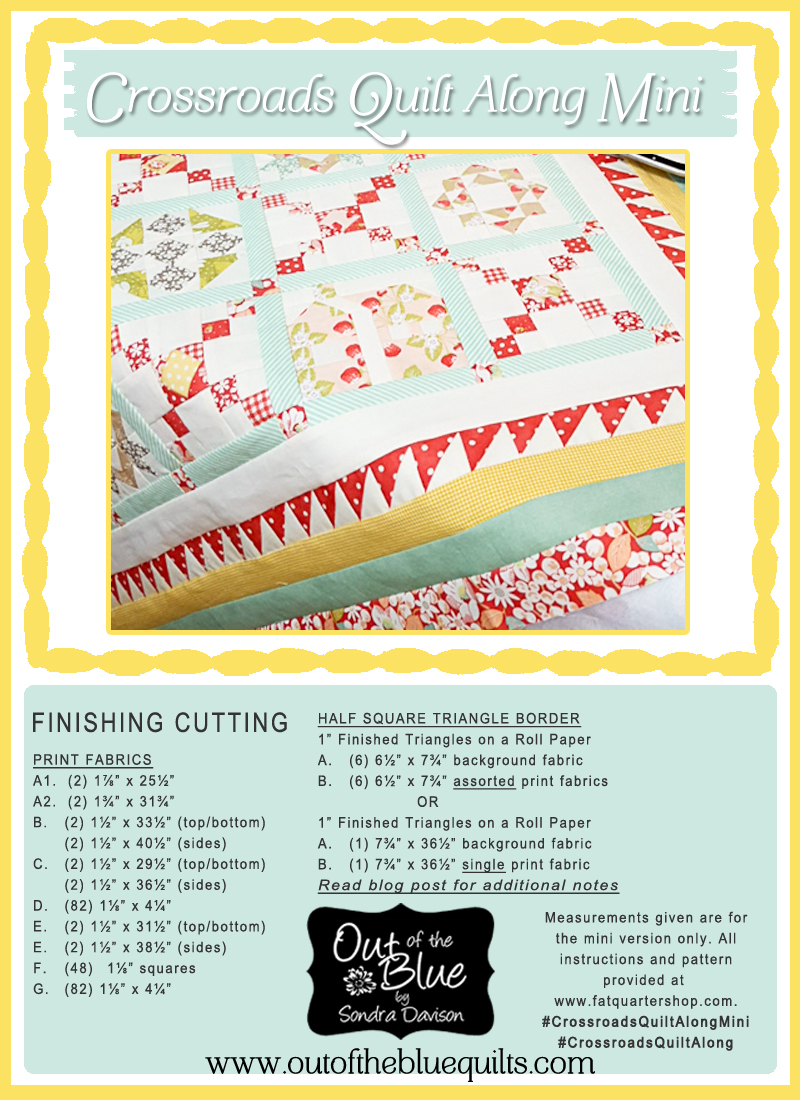
Right up front, I want to share a few changes I made to my quilt. The full size Crossroads Quilt used six different red fabrics to make the Half Square Triangle border. I included the downsized cutting instructions to do that on the download, however that isn’t how I made mine. You’ll notice there is only one print fabric used with my background fabric – the red with white polka dot. Since I used a layer cake to make my mini Crossroads, I didn’t have enough red fabric left out of it to make the HST border. Instead, I Improvised, using coordinating yardage from my stash. I’ve included those measurements as well on the download.
#stashbusting (feels good!)
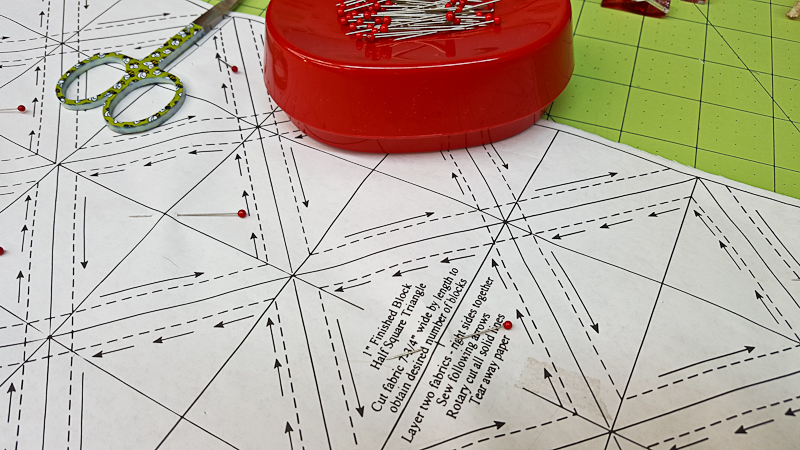
There are so many methods available to make the HSTs. In this blog post from the Fat Quarter Shop’s Snapshots Quilt-Along, I wrote about how to make eight HSTs at a time when we were making itty, bitty, ¾-inch pinwheel blocks. You can also print your own Triangle Paper as shown here, although I’ve never tried that. I stuck with Triangles on a Roll for my full size and mini version quilts.
For the miniature quilt I used the 1″ finished size Triangles on a Roll paper which you can purchase here. You will assemble the blocks in the same manner as instructed on the full size Crossroads Quilt instructions. If using six different fabrics, you will have extra blocks, as with the full size version. If you use only one fabric as I did, you will have the exact number blocks needed: 144. My cutting sizes may appear odd on the download. Each Triangle on a Roll paper varies in width. For the full size quilt, you’ll cut your fabric 6½” wide to fit the paper. As shown above, the smaller Triangle on a Roll paper requires you cut your fabric 7¾” wide. If you’re new to Triangles on a Roll, the Fat Quarter Shop has provided excellent instructions in this video.
Just follow along. Easy, peezy…
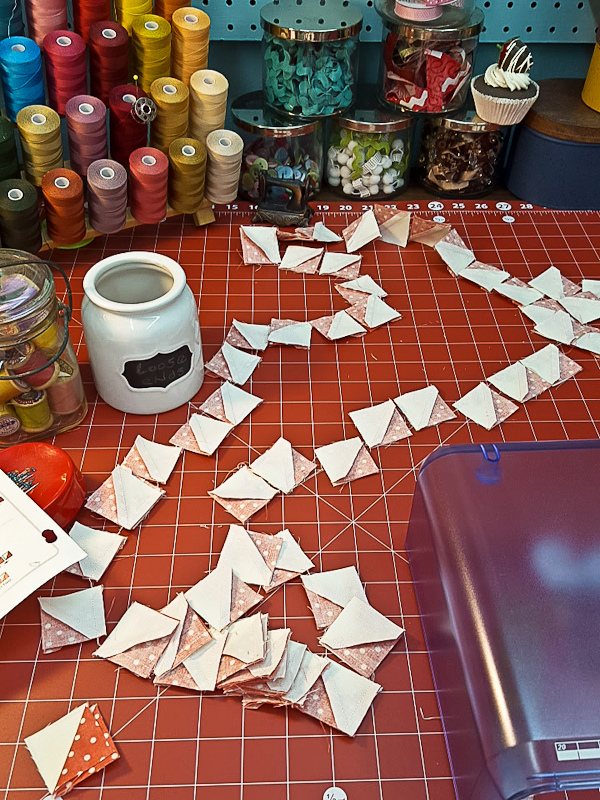
#chaingang
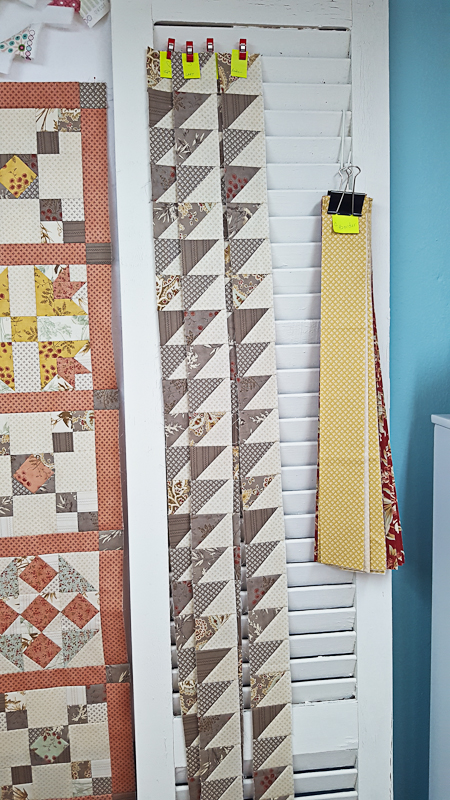
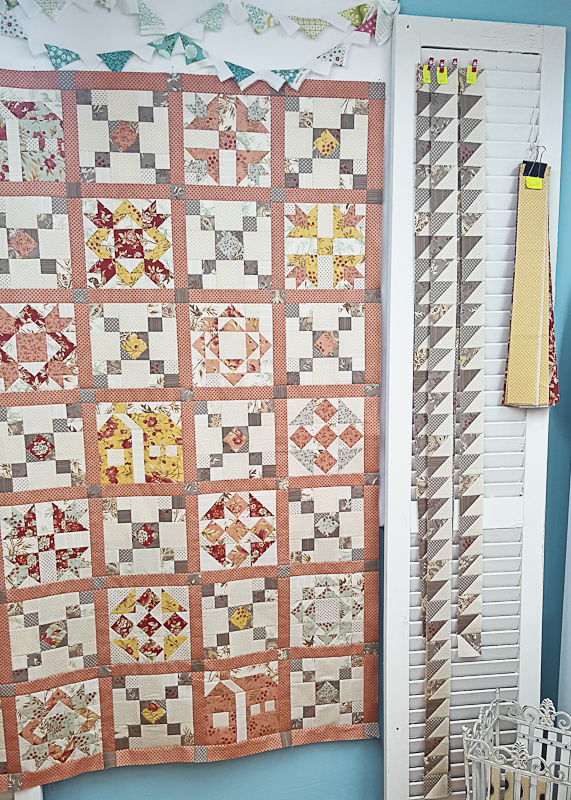
I also wanted to share a few pictures of my full size version quilt. One recent addition to my sewing room was a pair of old shutters I leaned against the wall, alongside my design board.
Originally placed for aesthetic purposes, I can’t believe how handy these have been for hanging my borders and fabrics after they’ve been pressed, giving me a lot extra work space. Notice that I label everything.
I can’t begin to say how much I love the way this came out and how much I love the fabrics!
And here are the instructions! I’m praying hard I didn’t overlook anything. If so, be sure to holler. Happy sewing!
Monthly Reminder for the Crossroads Quilt Along Mini Quilt
If you’re not familiar with the Crossroads Quilt Along, I wrote more about it here. The instructions for each 8-inch, full size, monthly block are provided by the Fat Quarter Shop. You need those instructions, as I am only providing replacement measurements to create a 4¼” block each month. Share your progress and creations with us on Crossroads Facebook group. Post your blocks using #crossroadsquiltalong and #crossroadsquiltalongmini on Facebook, Twitter, and Instagram.


